Trims and Decorative Edges for Window Treatments
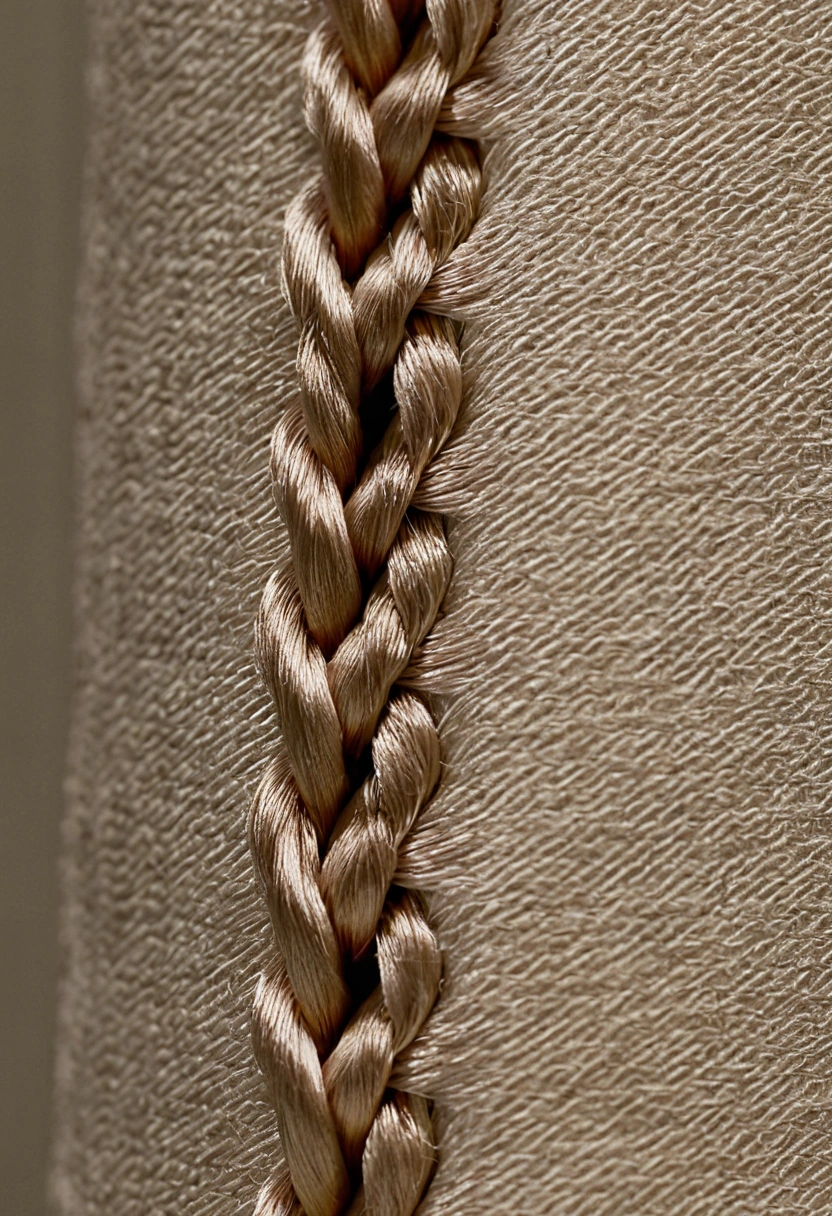
Sarelli Textiles presents fabrics and rugs for interior projects. The main cloth often gets the attention, yet the edge determines how a window treatment meets the architecture. A narrow braid, a contrast band or a restrained fringe can mark the opening, change the perceived width of a panel and give the workroom a precise finishing task.
Decide what the edge should do
Begin with the window's position in the room. Does it need a quiet finish that disappears beside the wall, a line that relates to nearby joinery, or a decorative border visible from across the room? These are different briefs. A trim on the leading edge is visible when the curtain is closed and often when it stacks open. A border near the hem relates more strongly to the floor. A top treatment draws attention to the rail and ceiling. Sketch the intended view in both open and closed positions before selecting a braid by itself.
Historic trimmings show how broad the category can be. The Metropolitan Museum of Art records nineteenth-century passementerie made with metal thread and tinsel, and a separate fringe in its textile collection. Those objects are references for material vocabulary, not ready-made solutions for a contemporary window. Their weight, texture and care needs may differ from the main fabric. The project should choose a trim for its present role and installation conditions.
Choose position before color
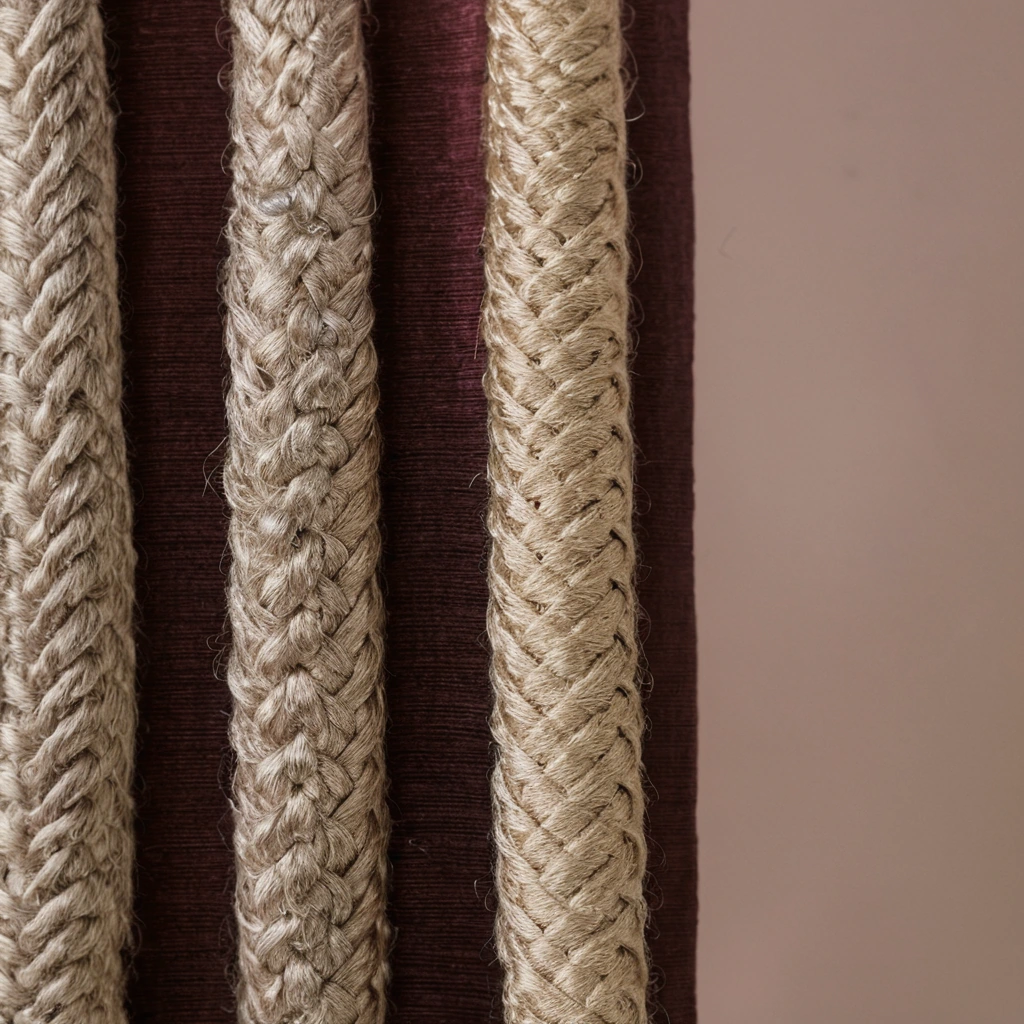
Place a proposed band with paper tape or a removable mock-up on a full-size panel. A small sample laid on a table cannot show how the line reads at window height. A wide vertical band can visually frame the opening; a narrow one can simply sharpen the seam. If a room has several windows, the same edge treatment may create continuity even when the panels have different widths. Confirm that each leading edge is on the correct side, particularly where curtains meet at a center opening.
Contrast changes the effect. A tone close to the curtain fabric highlights texture and relief. A sharp contrast creates a graphic outline. A metallic trim catches light and may shift between daylight and evening. Compare all options beside the wall and hardware finishes, not against a white showroom card alone. The U.S. Department of Energy distinguishes the color appearance of a light source from its rendering of object colors; a trim that appears subdued under one lamp may draw attention under another. DOE's LED explanation is a useful reason to sample in the room.
Make the construction visible on paper
The workroom needs more than the instruction “add trim.” A specification should show which edge receives it, whether it is sewn on top or inserted into a seam, where it begins and ends, and how corners and returns are handled. At the hem, decide whether the trim sits above the floor or touches it; contact can affect both appearance and maintenance. On a pair of panels, confirm that the border repeats symmetrically when they close. If the trim has a motif or a pronounced nap, indicate direction.
Patterned fabric adds another layer of alignment. The Association for Contract Textiles defines pattern repeat as the vertical and horizontal distance between matching points on a textile. Its quality guidance explains how repeat and bow or skew are assessed. A border parallel to a strong printed line can make even a small visual mismatch obvious. Review a full-size mock-up where the main pattern, trim and panel edge meet, and agree on acceptable placement before cutting all panels.
| Decision | Why it matters | A practical check |
|---|---|---|
| Leading edge or hem | Changes what is visible open and closed | Mock up both positions |
| Applied or inset | Changes seam thickness and visible width | Approve a finished corner sample |
| Directional motif | Can reverse between paired panels | Mark right and left before cutting |
| Care compatibility | Trim and main cloth may react differently | Read both supplier instructions |
| Quantity | Returns and pattern matching use material | Measure finished route, then confirm allowance |
Respect the base fabric's job
A decorative edge should not obscure the curtain's operating function. Heavy trim on a very light sheer may pull the panel out of shape. A stiff band on a soft drape may change the folds. Fringe near a frequently handled leading edge may be touched more than one at the hem. These are physical observations to test with a sample, not general claims that a certain trim type always fails. Hang a representative length and observe it over several openings and closings.
The base cloth also has its own performance requirements. ACT separates drapery from upholstery in its voluntary performance framework. Before using a furnishing cloth at a window, confirm that the supplier approves it for drapery and review the applicable lightfastness and other project requirements. The decorative braid does not turn a fabric intended for another application into a suitable curtain. Conversely, a beautiful drapery cloth does not need to be judged by sofa abrasion criteria.

Sample the join, not only the pieces
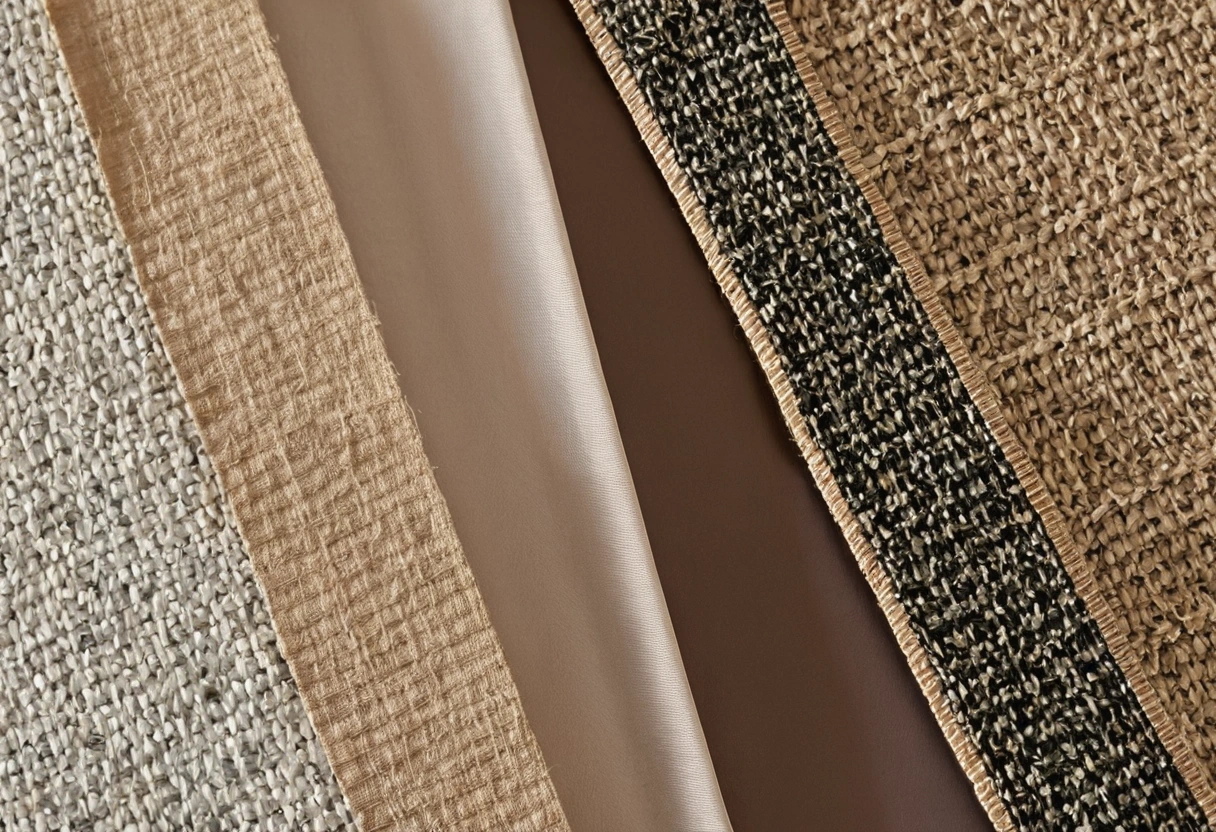
Request a sewn sample using the chosen ground fabric, lining if any, trim and intended stitch. Lay it flat, then hang it. Watch for puckering, twisting, shine changes and the way the edge returns at the top and bottom. If the treatment must clear a radiator, desk or door, test the finished thickness at that point. The most attractive loose trim may be unsuitable when stitched to a particular base. A small workroom trial exposes that before the full order is made.
Keep a record of the approved sample and the trim's exact color, width and supplier. Small variations can be visible when several panels form one wall. If the edge is custom dyed or special order, confirm the amount needed for every panel, tieback and spare length before production. A replacement made later from a different batch may not sit invisibly beside the original. This is a procurement reason to decide the whole window treatment as one assembly.
Leave room for use and care
Ask who will open the curtains and where hands will naturally grip them. A trim placed exactly at the grip point should tolerate that use or be moved. Document the cleaning instructions for both cloth and trim; if they differ, ask the suppliers and workroom for an appropriate finished-treatment plan. Avoid assuming that a washable main fabric makes the entire assembly washable. Hardware, lining, embroidery and decorative tape may each have different care constraints.
A well chosen edge gives the window a deliberate finish without fighting the fabric. Its success can be checked in four views: the panel open, the panel closed, the close-up seam, and the full room. If the trim improves the composition in all four, and the workroom can make and maintain it as drawn, it has earned its place. The decision is small in width but large in effect, so approve it at full scale.
Think about the treatment when it is partly open as well. A trim may appear as a close cluster of lines in the stack even though it looks restrained on a fully closed panel. If several windows sit in one wall, those clusters can create a rhythm of their own. Pin the chosen trim to one panel and move it through its normal travel. Observe it from the room entrance, the primary seat and the window itself. Adjust the width or position before the workroom repeats the detail across the full set.
Confirm that the selected stitch does not visibly distort a sheer or delicate ground. If a trial shows pulling, ask the workroom for an alternative application detail rather than hiding the effect with heavier pressing. The approved sample should show the face and reverse, because the reverse may be visible from outside or when the curtain moves.